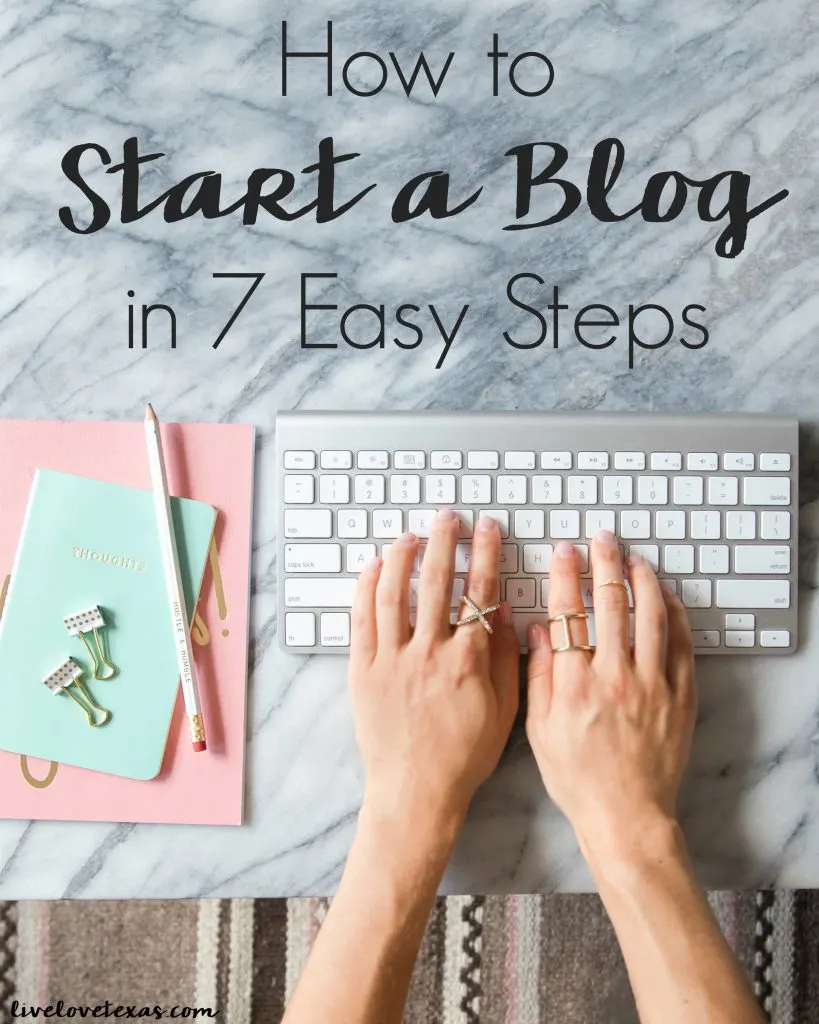
At this point, you’ve read how to start a blog, discovered how broad or narrow your content is going to be, created a blog name and purchased a URL, and signed up for web hosting. Now I’m going to break down how to install WordPress through Blue Host for free!

3. Install WordPress.
WordPress is the industry standard for amateur and professional bloggers alike. It’s super easy to use and very customizable. Depending on your server, you can set up your WordPress installation with just one click from your Blue Host hosting dashboard.
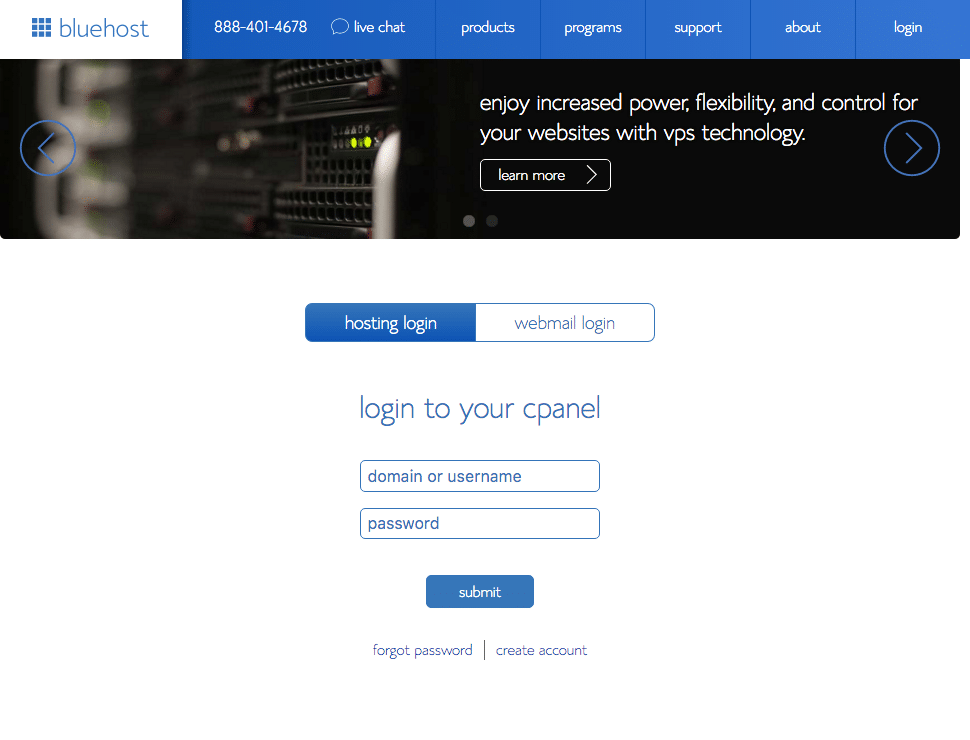

Using the login you created in step 2, sign into your Blue Host CPanel.
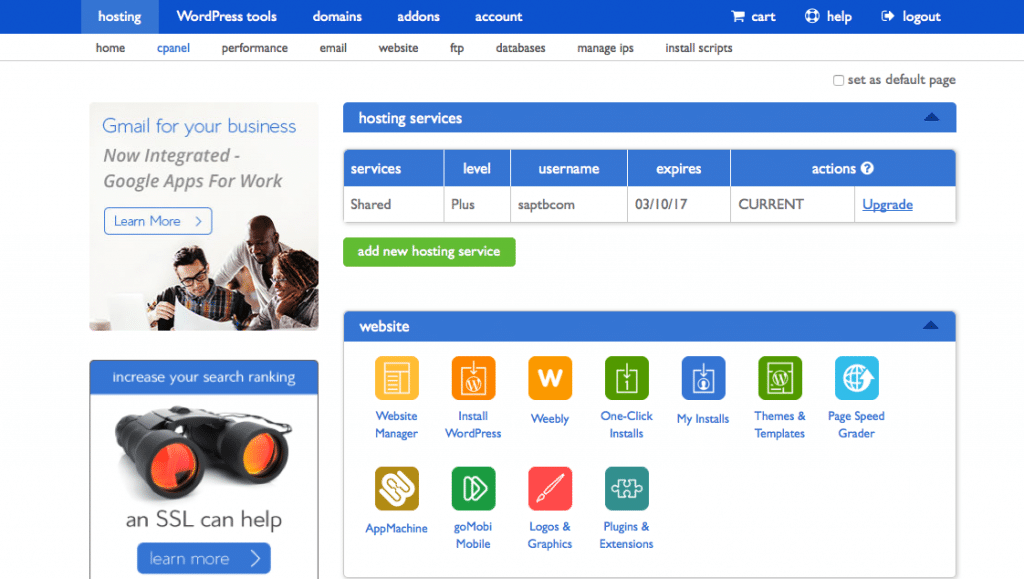

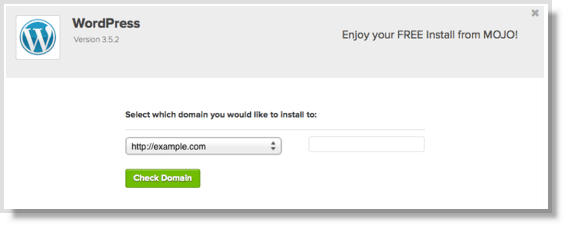
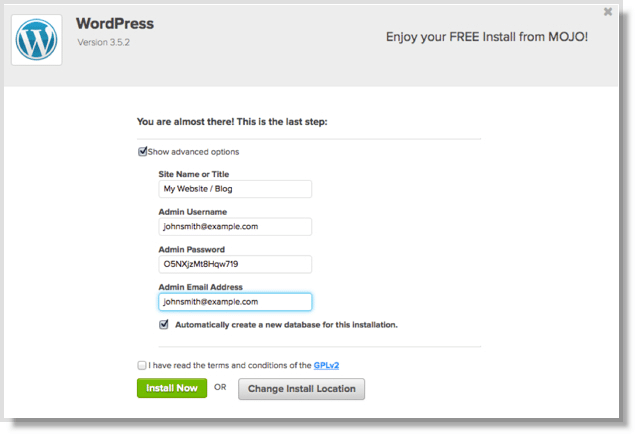
Once you’re in, you’ll choose the second icon from the left on the top row that says “Install WordPress”.

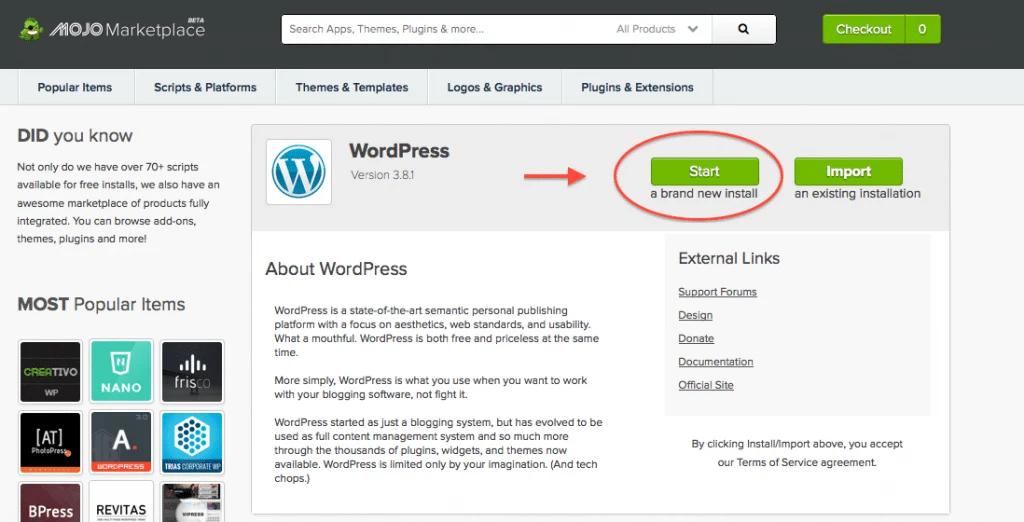


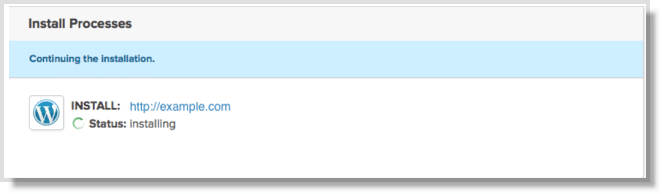


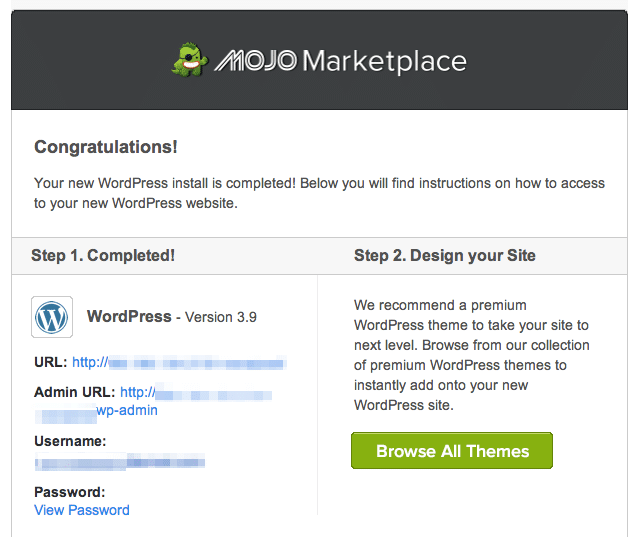

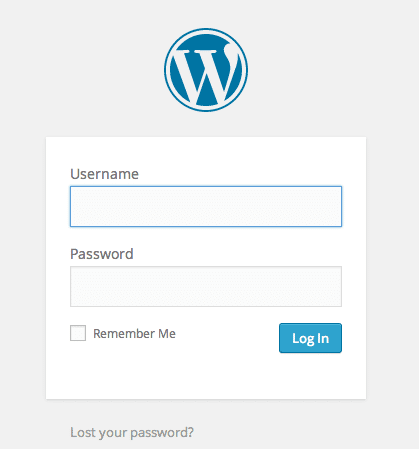
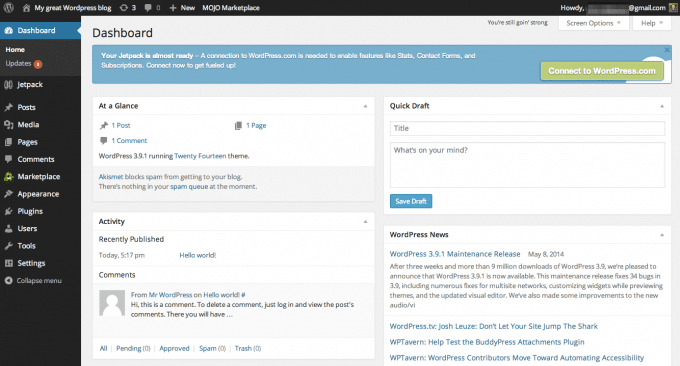

You did it! You’ve installed WordPress on your blog!
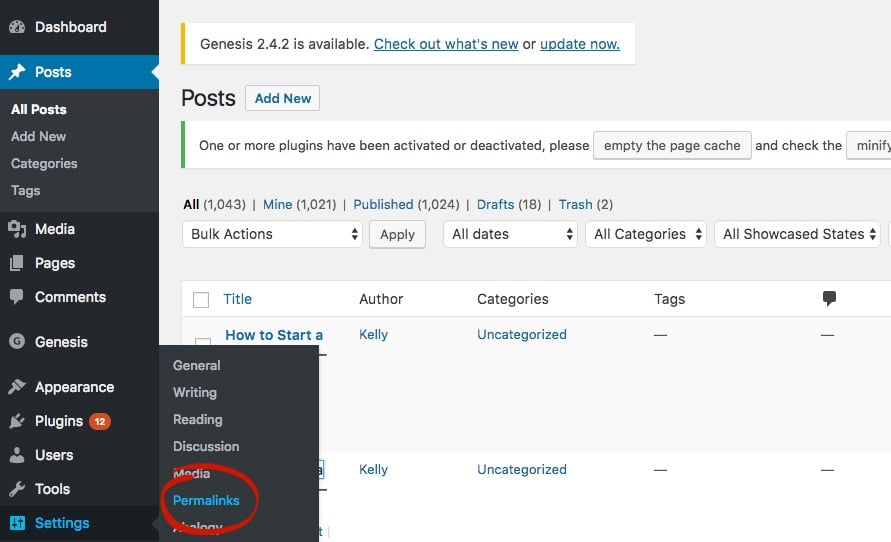
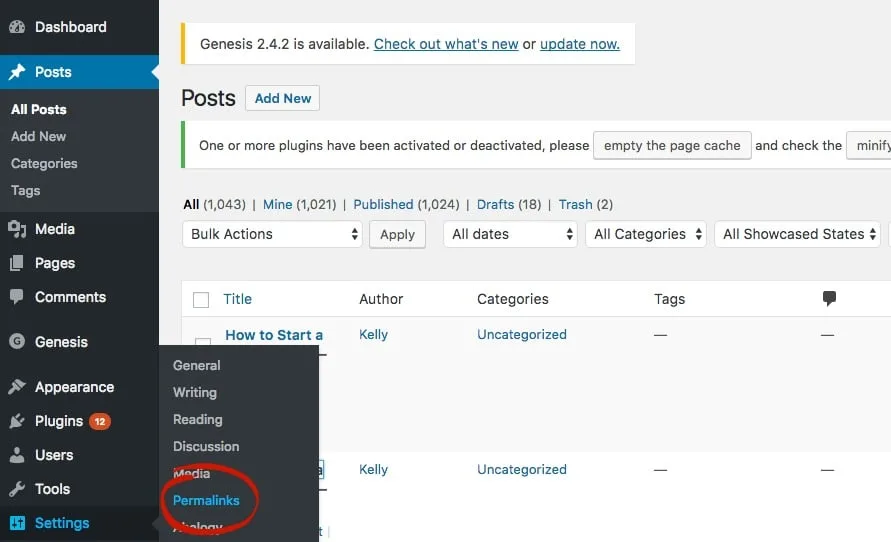
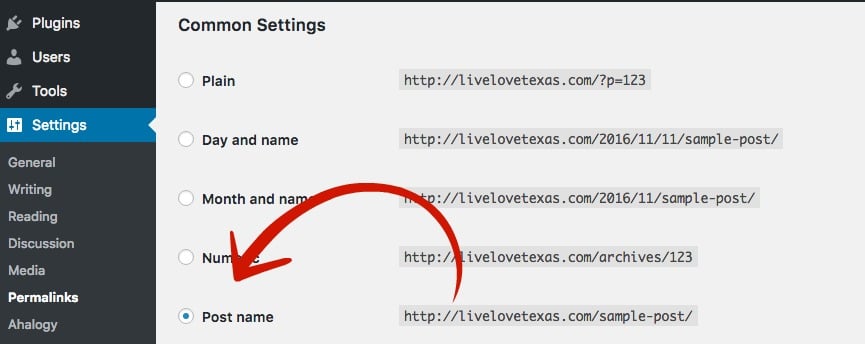

Once WordPress is installed on your site, you need to “Settings” and then “Permalink Settings” and change your permalink structure to “Post name”, then hit save. Trust me on this one. This not something you want to change after you’ve been blogging for awhile and this structure is the cleanest and most SEO friendly (more on that later).
Cost: free!
If you feel inspired, you can start writing now so you have content as soon as your blog goes live. You’ll want to write, write, write when you get started and get lots of content ready to push out before you can start making money so spending some time to work on your writing, photography, and blogging skills definitely doesn’t hurt so when it’s time you’ll be ready to make money.
If you want to get it all done at once, you can move onto day 4 where we’ll be talking about design and how to get a clean and professional blog theme that will encourage networks, PR, and brands to work with you because they see your value.