Despite having a husband that went to art school for a short period and mom to a mini-Picaso, creativity and artistic expertise don’t come easily to me. After a brief stint scrapbooking in my late teens/early 20s, my craftiness in recent years has involved mostly children’s handprints and footprints.
Recently I’ve found myself having creative surges around the holidays because I want to make our home a little more festive for the girls. Last year I held out decorating for Halloween until the beginning of October. This year I gave in and aside from the exterior blowups, we had all of our existing decorations up by the second week of September.

For as long as I can remember, Cakes has been obsessed with all things Halloweens. Pumpkins. Costumes. Candy. All of it.
With Cupcake reaching the age where she can really enjoy Halloween this year, I decided to create some more fun Halloween decorations to really get in the spirit. Being a little challenged in right-brained activities and a lack of ample storage space, I wanted to create Halloween crafts that were fun, unique, and most of all…easy!
What says fun and whimsical more so than candy?! Orange and black may be the official colors of Halloween, but for the Halloween craft ideas I had brewing in my head, I knew I wanted something bright and colorful instead. Things that would look festive on our new bookshelf.
It’s likely the Type A in me, but I hate being interrupted while completing a project. I went to my favorite warehouse store so I could isolate a ton of certain colors while still having a rainbow of options available for a budget friendly price.
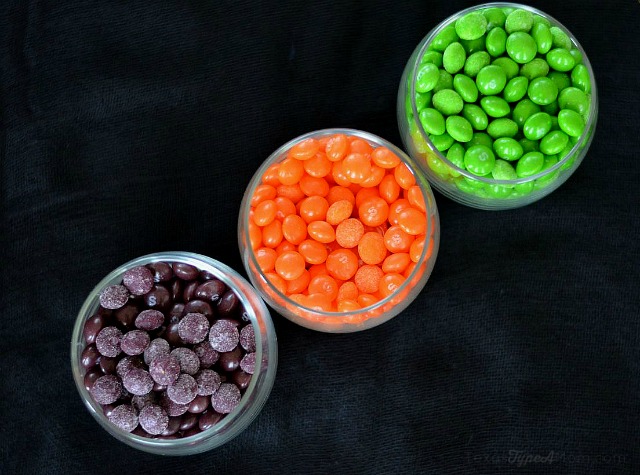
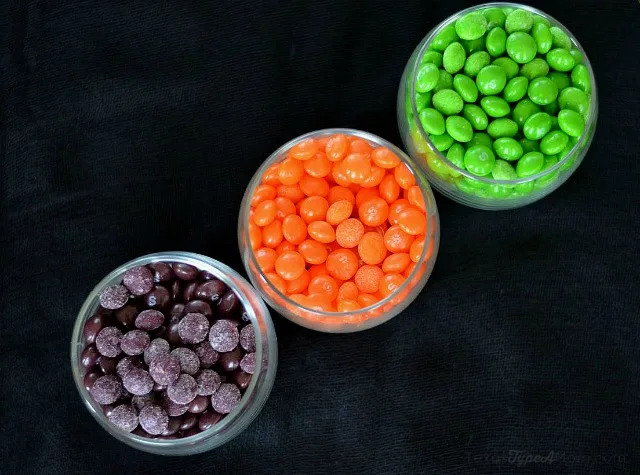
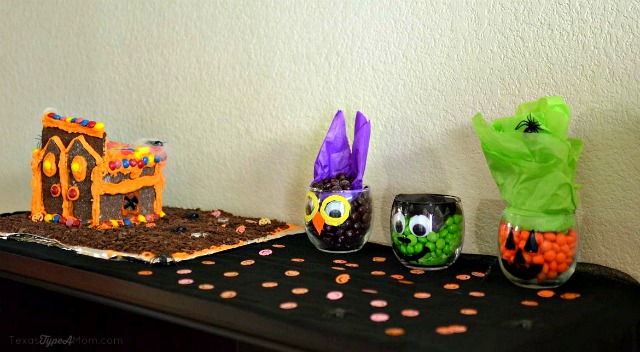
My first thought when seeing all of the individual pieces of candy was a trio of festive candy dishes…with a twist. Recreating these is easy, even if you’re not very crafty but it does take some time. Open each package of Skittles and separate the green, purple, and orange into separate jars or votives. I had originally planned on filling quart sized mason jars, but surprisingly there weren’t enough to fill to an appropriate level so I decided votives were the way to go.
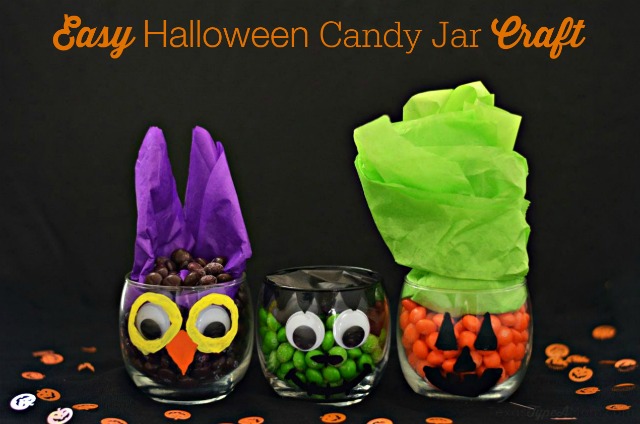
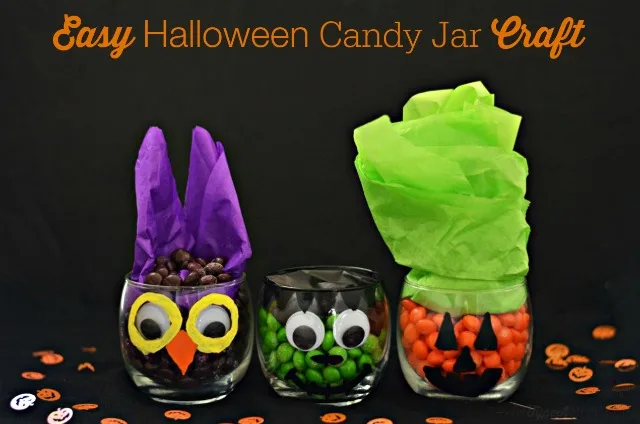
Materials: (3) small jars (I used votives), (1) Skittles & Starburst 30 Pack, (2) pieces of green tissue paper, (2) pieces black tissue paper, (2) pieces purple tissue paper, black/orange/yellow acrylic paints
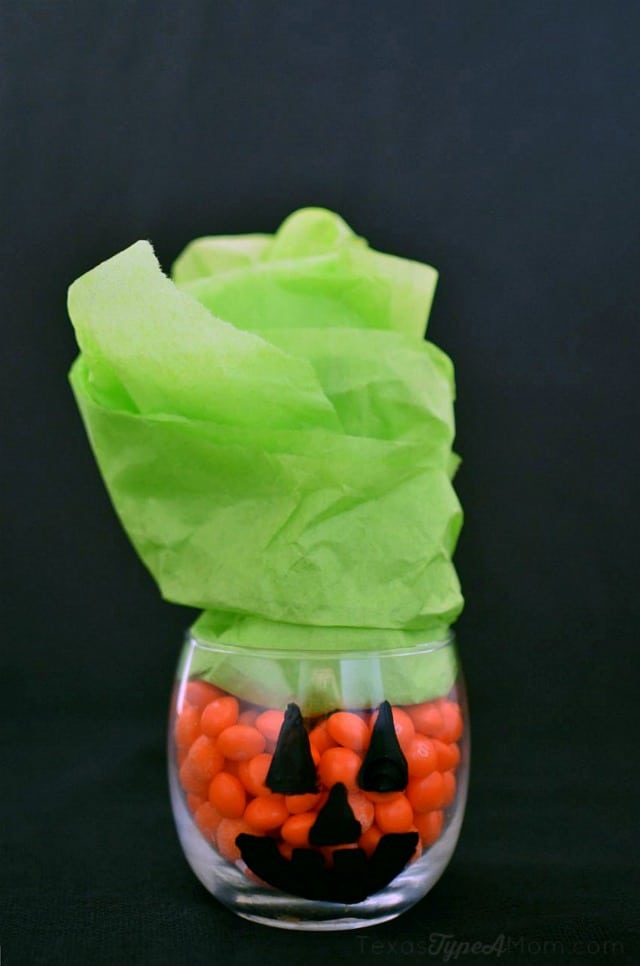
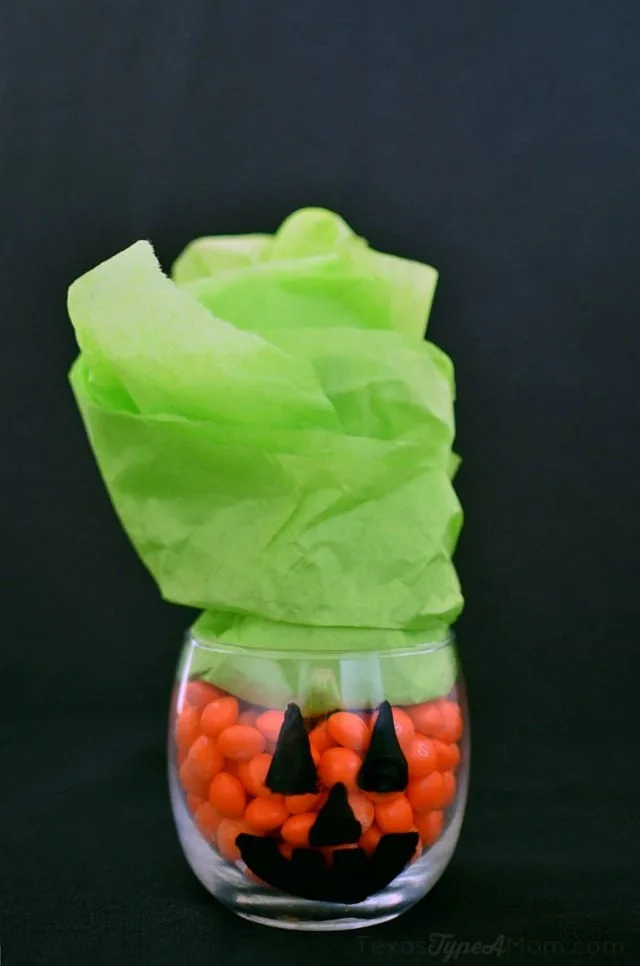
1. For the jack-o-lantern: take the jar filled with orange Skittles, then half a piece of green tissue paper, then fold it in third and loosely roll to create a top of the pumpkin.
2. Using black acrylic paint, create a jack-o-lantern face.
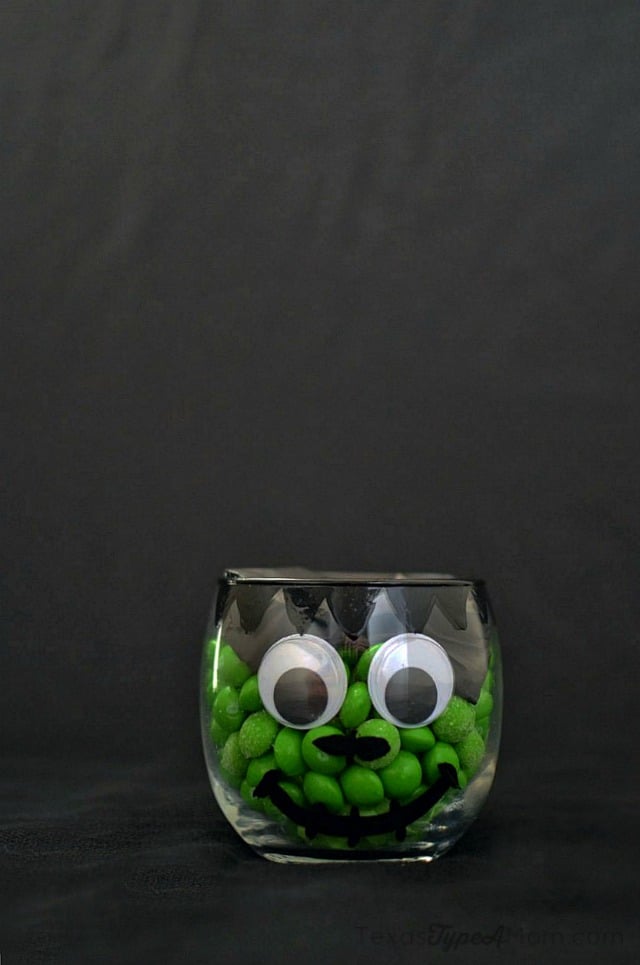

1. For the Frankenstein: use jar filled with green Skittles. Slide one pair of large googly eyes into the jar. Position them low enough so that you can add a nose, mouth, and create a hair line.
2. Fold one sheet of black tissue paper into a square to fit opening of jar, then fold a second piece of black tissue paper on top of it, tucking it in at the edges.
3. Draw a nose and mouth using stitch marks to accent.
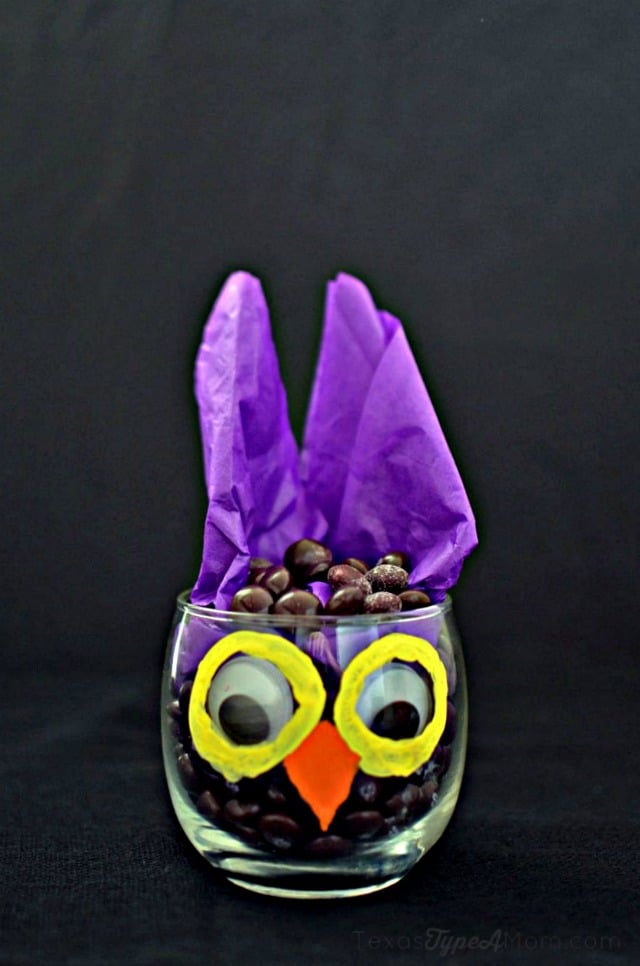

1. For the owl: take the jar filled with purple Skittles and slide a pair of large googly eyes into the jar.
2. You’ll need to pieces of purple tissue paper for this one, each crafted the same way. First fold the tissue paper in half, then fold the corner down creating triangles for the ears – one on each side.
3. Once ears are in place, secure with extra purple Skittles to simulate feathers on top of the owl’s head.
4. Trace the outline of the googly eyes using a wide band of yellow acrylic paint.
5. Create a diamond shaped nose for the owl using orange acrylic paint.
There was so many other colors of Skittles and all the Starburst leftover after creating these fun little Halloween candy jars that I went to work on a second craft project. Inspired by Christmas gingerbread houses, I decided to make a haunted house for Halloween!
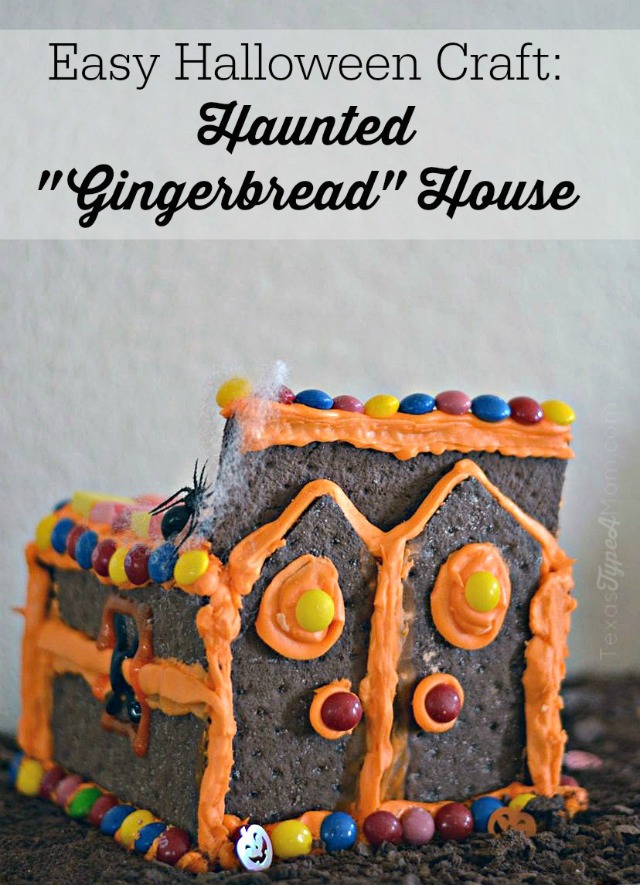

The haunted house craft ended up a little trickier than I had originally anticipated. I can’t help myself when baking/crafting with icing, if it gets on my hand’s chances are I’m going to lick it off. Not to mention my girls senses kick into overdrive when the possibility of icing is near. Knowing that an eggless alternative would be safer, I tried swapping light corn syrup in the royal icing recipe I use at Christmas for gingerbread houses. While the consistency may seem similar, it did not hold up to the flimsy gingerbread house I was constructing. After making a second batch of icing using my typical royal icing recipe, I knew things were getting closer to being done.
Materials: cardboard rectangle, aluminum foil, 2 packages of chocolate graham crackers (1 package for house, 1 package for “dirt”), 1 batch of royal icing (recipe below), Skittles and Starburst candies, black and orange icing gels (windows), optional: googly eyes, pumpkins, spiderwebs, spiders to decorate
Royal Icing Recipe: 1 lb. powdered sugar, 2 egg whites, 1/4 cup warm water, 1 tsp. lemon juice, orange food gel coloring
Directions: Mix all ingredients using a hand mixer. Continue mixing until consistency is thin enough to pipe through pastry/sandwich bag.
1. First cover a piece of cardboard (to create a sturdy base) with aluminum foil.
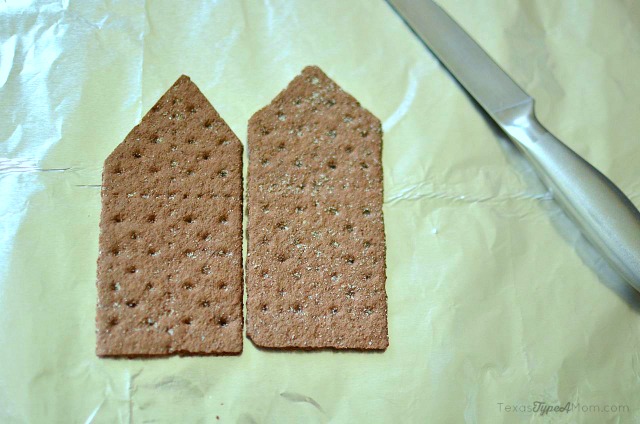
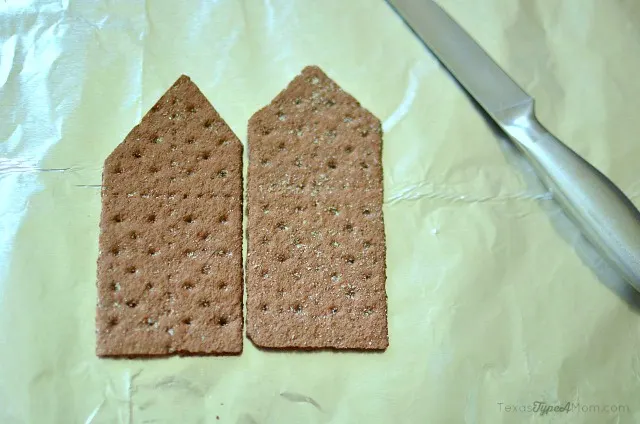
2. Conceptualize the layout of your haunted house. For the house I made, you’ll use one graham cracker sheet (rectangle) and using a sawing motion with a serrated knife cut off the top corners. I created two different angles because perfection on a haunted house really isn’t necessary. Or as spooky. For the side walls and back you’ll be using one whole graham cracker sheet, plus an additional half cut lengthwise.
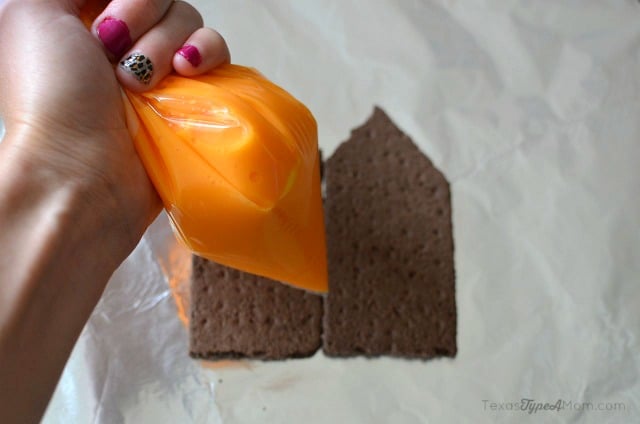
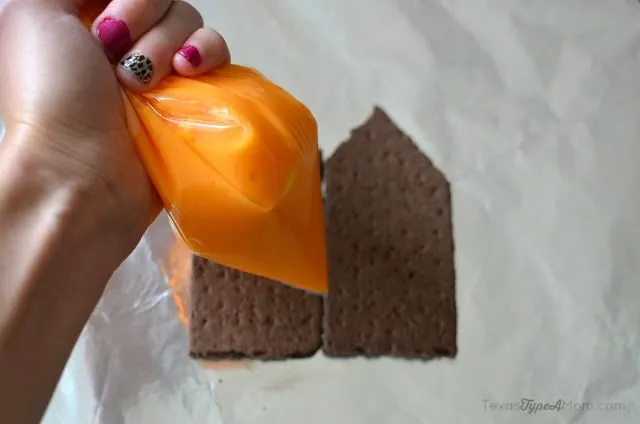
3. To secure each piece in position, place royal icing into a piping bag (or sandwich bag with one tip cut off) and apply a thick layer of icing to create a glue. This stage of allowing all of the pieces to set together will likely take the longest of all the steps.

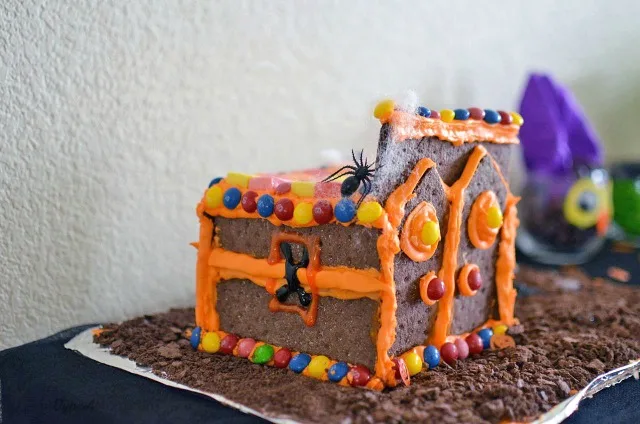
4. Adhere accent pieces by applying desired amount of royal icing and attaching individual Skittles or Starbursts while icing is still wet.
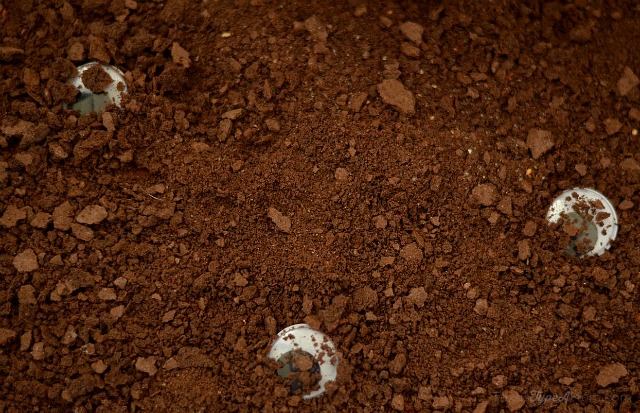
5. To create the “dirt” surrounding the haunted house, spread a thin layer of royal icing over the surface of the prepared aluminum board and immediately cover with crushed pieces of chocolate graham crackers.

Whether you want to create your own candy centric, easy Halloween craft or just need something to hand out to trick-or-treaters make sure to follow my Halloween board on Pinterest for inspiration!
Do you have any easy Halloween crafts to recommend? Have you ever used candy in your projects?


20 Spooky Halloween Decor Ideas for a Spooktacular October
Tuesday 3rd of May 2022
[…] Haunted Gingerbread House from livelovetexas.com […]
10 Best Christmas Towns in Texas in 2019 | See Lights & Snow
Thursday 12th of December 2019
[…] ways, decking the streets in holly and lights, every tree trimmed, buildings decorated to look like gingerbread houses and the list goes […]
ConservaMom - 30 Fun & Easy Halloween Crafts For Kids - ConservaMom
Wednesday 23rd of October 2019
[…] Gingerbread Haunted house by Live Love texas […]
Brandy
Monday 29th of September 2014
I love this idea. My kids love Halloween, will have to tr this out with them one night! Maybe this weekend.
Heather {Brie Brie Blooms}
Thursday 25th of September 2014
Such fun projects! My daughter would love making the gingerbread house!