This post on How to Make a Sharpie Mug + Free Printable is part of a sponsored post on behalf of International Delight.

Everyone falls into two camps. Morning person or night owl. Me? I’m in the latter category. It is so much easier for me to stay up ’til the wee hours of the morning than it is to wake up before it’s even light outside.
It takes a lot to get me out of bed in the morning. Of course the girls do a good job during the school year of doing this, but once the oldest is on the bus and off to school it’s a real struggle to stay up and not crawl back into the warm cocoon of my king sized bed.
One thing I can always count on to help me ease out of sleep and into the real world is my morning cup of coffee. There’s something so blissful about the ritual of preparing and enjoying a hot cup of coffee first thing in the morning.

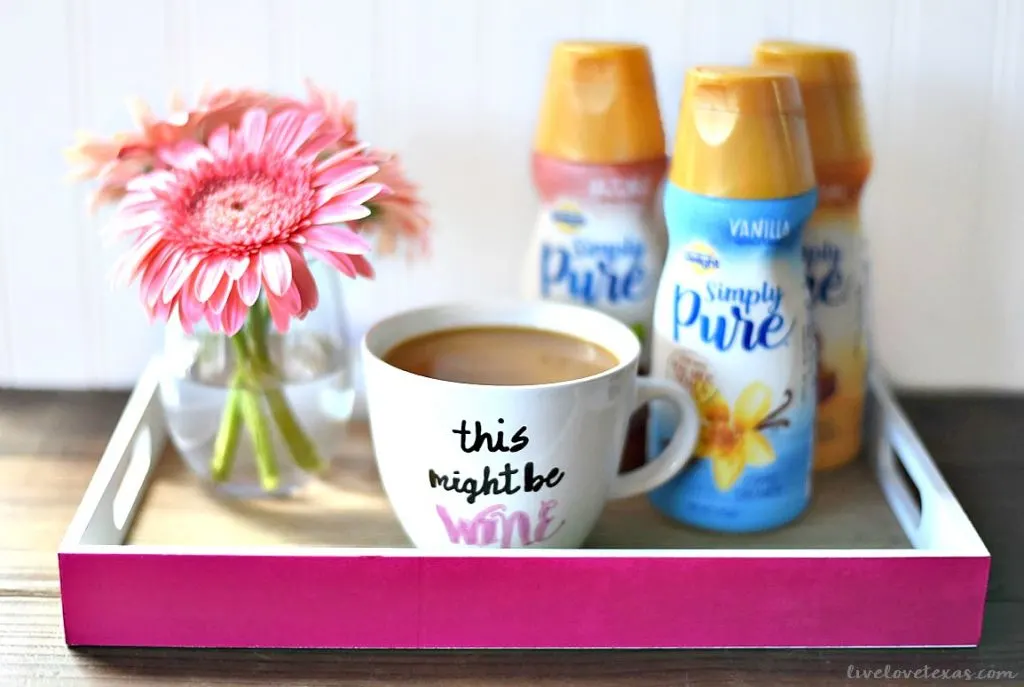
As much as I love the smell and taste of coffee, I’m just not someone that can drink it black. Or even with a little milk (or if you’re my husband a lot of milk). I really enjoy having coffee with creamer, but not just any creamer. The last time I went shopping I found a new International Delight Simply Pure Creamer that I love.
Simply Pure Creamer has a clean label and with only five ingredients, it’s a new way to enjoy creamer. And it comes in three delicious flavors: Vanilla, Hazelnut, and Caramel.
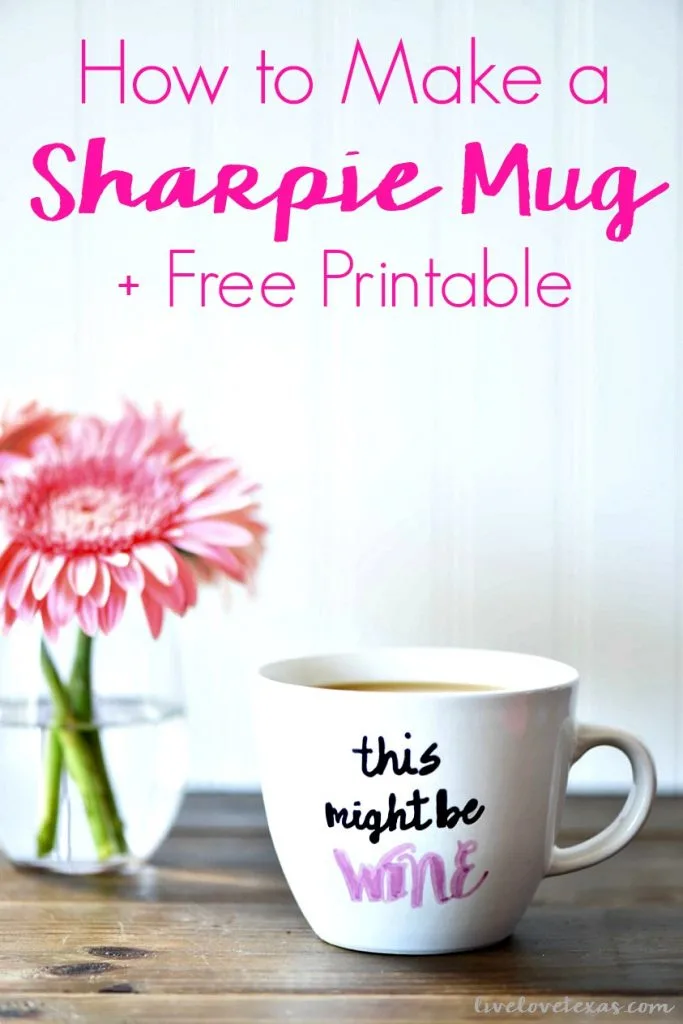
I’ve always drank my coffee out of the mugs that come with my dishes but I’ve been lusting after all the cute mugs with sayings I’d see on Pinterest. To make my morning coffee routine a little more exciting I decided to make a Sharpie coffee mug with a fun saying…that mixes two of my loves.
How to Make a Sharpie Mug + Free Printable
1. Take a cotton ball soaked in rubbing alcohol and completely clean the surface of the mug you’re using. Allow to dry.
2. Print this free This Might Be Wine printable.
3. Cut out the text on the printable leaving a small border and tape to the mug.
4. Use a pencil and trace and shade in the words on the printable.
5. Remove tape and paper.
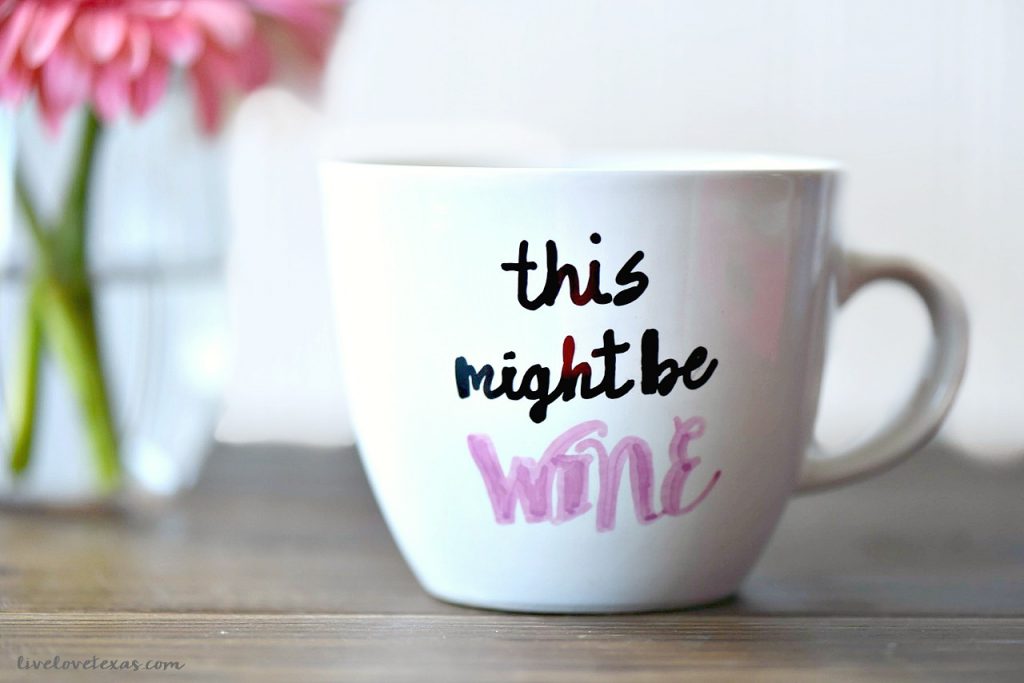
6. Using an oil-based Sharpie, trace over the letters on the mug.
7. Allow to dry at room temperature for 48 hours.
8. Place mug on a cookie sheet inside of a cold oven. Heat to 400 degrees and cook for 1 hour. Turn off oven and allow mug to fully cool inside oven.
Note: I’ve only used pink and black Sharpies on a cooked mug and the pink does fade some from the bright pink to a lighter shade.
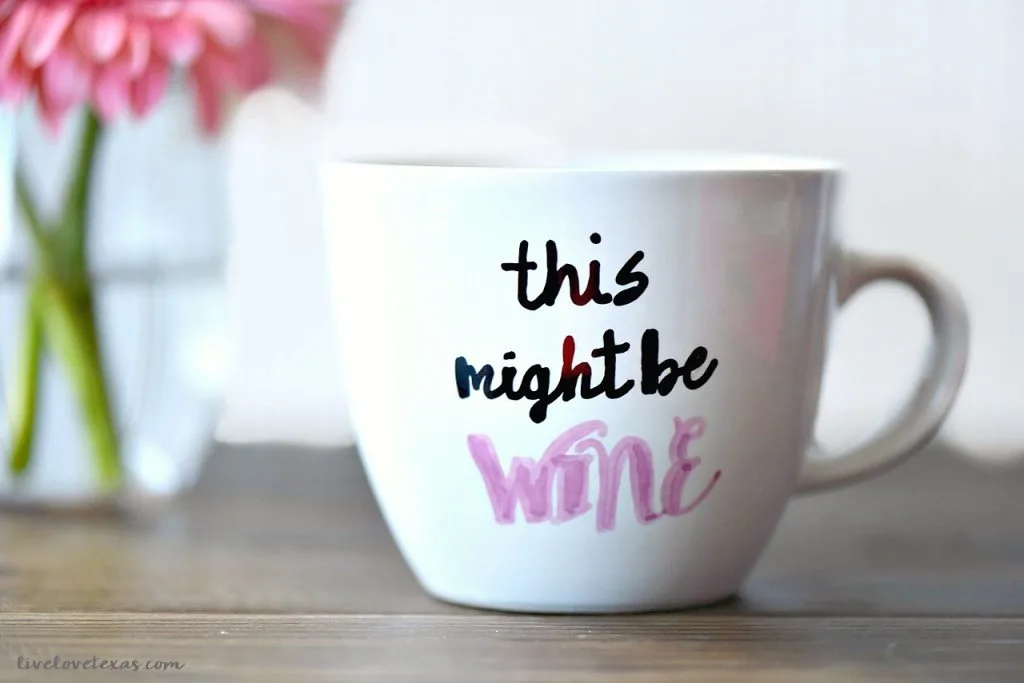
9. Remove from oven and enjoy your first cup of coffee with International Delight Simply Pure Creamer in your new mug.
Do you know how to make a Sharpie mug? Any tips on how to streamline the process?
This is a sponsored conversation written by me on behalf of International Delight. The opinions and text are all mine.