
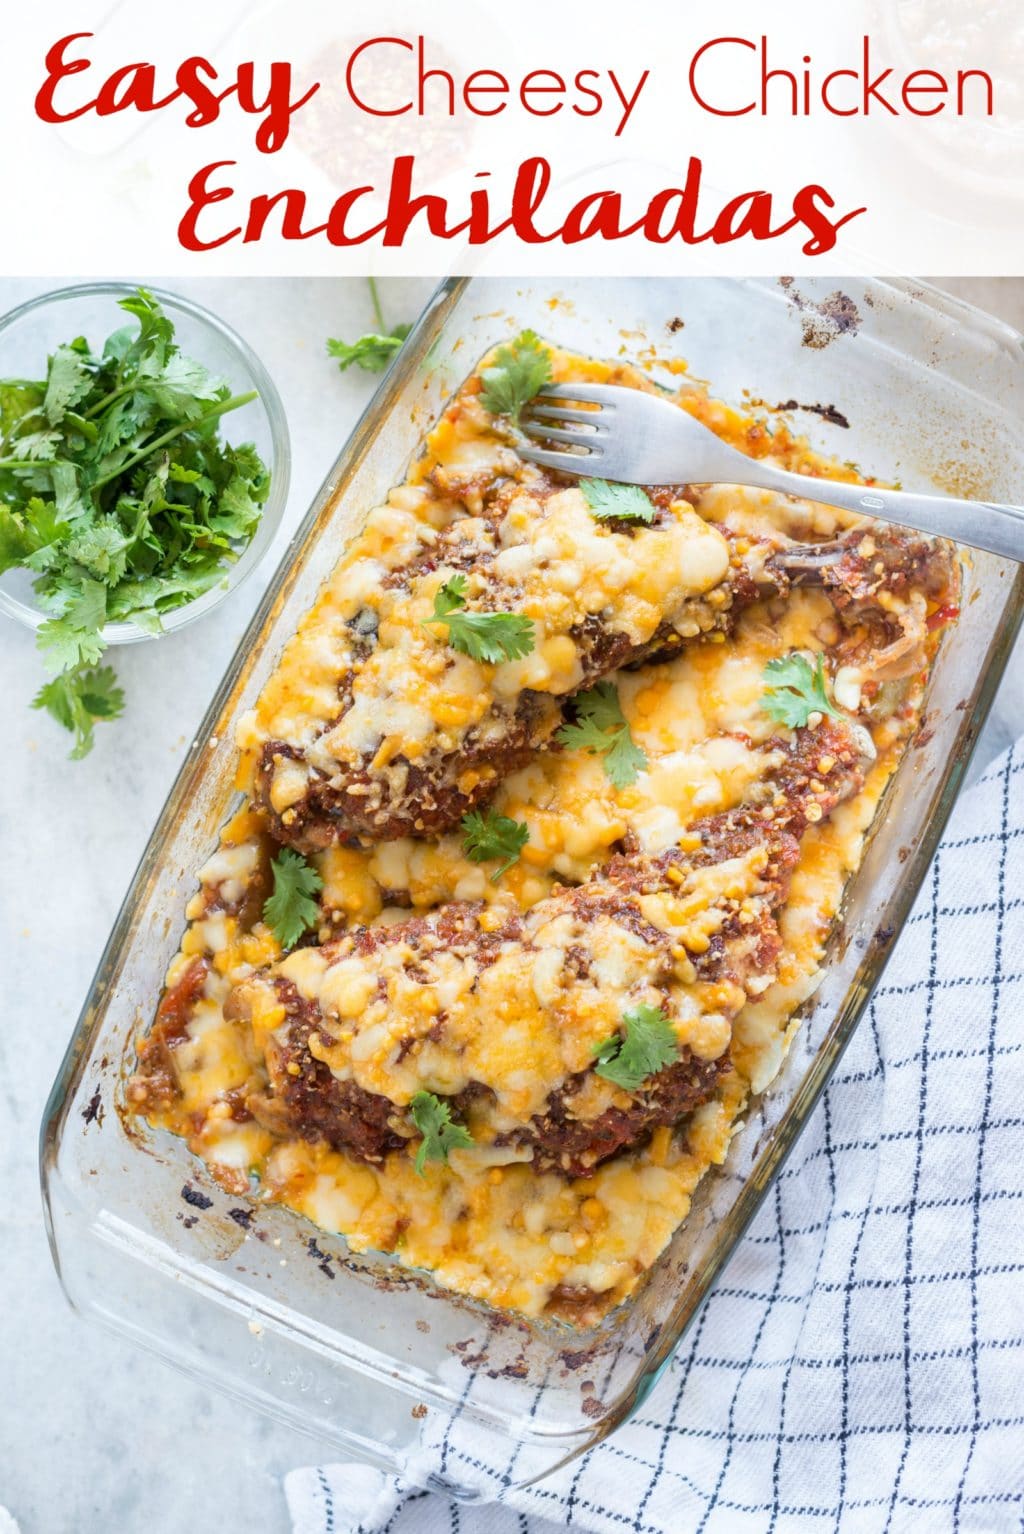
This easy cheesy chicken enchiladas recipe is one of the best chicken recipes and perfect for everything from weeknight dinners to entertaining.
Since Cinco de Mayo falls on a weeknight this year, I wanted an easy Mexican food recipe to serve up. Tacos or quesadillas were an obvious choice but something we have all the time.
Instead, to celebrate, I wanted something a little more authentic and a little more festive. Even though it was just us, I knew exactly what to make…my Easy Cheesy Chicken Enchiladas.
Chicken Enchiladas Recipe
This chicken and cheese enchiladas recipe is such an easy impressive meal. Everyone is always surprised to see how quickly it comes together and how few culinary skills you need to pull this off.
Trust me about how super easy this recipe is. I’m all about super easy recipes!
This was one of the first meals I learned how to cook and all these years later it is just such a great recipe!
I love it because it’s filling, flavorful, festive, and always a crowd-pleaser.
If you want to get on your mother-in-law’s good side, make her this and you’ll be in her good graces. Trust me, I made this the first time I met my in-laws and it totally worked!
What You Need to Make Enchiladas At Home
This is what you will need to have on hand to make your own enchiladas at home. You might already have most of it!
- Chicken Breast
- Red Enchilada Sauce
- Yellow Onion
- Refried Beans or Black Beans
- Shredded Mexican Cheese Blend or Monterey Jack Cheese
- Burrito-sized flour tortillas
Enchiladas Cooking Tips
If you don’t have time to cook everything from scratch, here are some helpful tips that will save you a ton of time and still make them taste just as amazing.
Use Rotisserie Chicken
You can make this recipe even easier if you buy a rotisserie chicken and pop it in the food processor (or in my case, usually the mini food chopper so I don’t have to haul out the big guns for just two chicken breasts). Having the chicken already cooked (and cool enough to shred immediately) will cut your prep time in half. Watch out using the food processor though, if you’re not careful you’ll shred the chicken too finely and completely throw off the texture of the dish.
More recipes using rotisserie chicken:
Use Canned Chicken
Another shortcut you could make in preparing this chicken enchilada casserole is to use canned chicken. I’ve done this before when I haven’t had a chance or forgotten to thaw a chicken breast. It’s not ideal and the flavor will be a little off, but if you were in a pinch it does work.
Best Baking Dish For Enchiladas
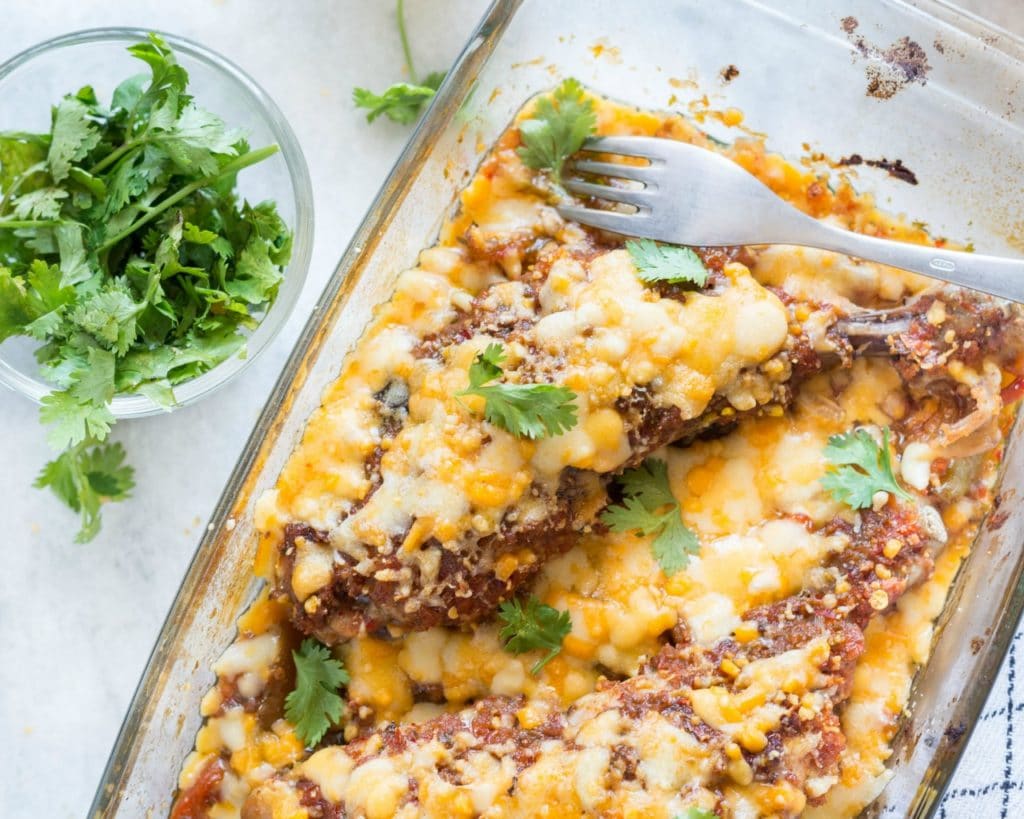
I don’t know about you but I love to load up my enchiladas with lots of toppings! One of my favorite tricks I’ve learned for ensuring all that goodness stays in place is using a pan like this one instead of a typical cassreole dish.
Enchiladas don’t always have the best presentation, but I assure you that if you serve them in this it’ll not only look amazing it might taste just a tiny bit better too. No matter how these cheesy enchiladas look, they’re always a crowd pleaser.
Red Enchilada Sauce Vs Green Enchilada Sauce
What is better for chicken enchiladas – red or green sauce? My family absolutely loves the red sauce on chicken enchiladas.
But there are some people that say the red sauce is for beef and the green sauce is for chicken. Try the red sauce first.
I bet you’ll love it as much as my family did. But then, just for fun, try the green sauce at your next meal. You might like it too.
The difference between the red and green enchilada sauce is which chilis it’s made of. The red sauce is made with red chilis and green sauce is made with green chilis.
Most green enchilada sauces have tomatillos in them. This would turn this into an enchiladas verdes and that’s something for another day.
The taste differences tend to be pretty minute. Red chilis are a bit riper so they taste a tad sweeter.
Looking for spicy chicken enchiladas recipes? Add some diced jalapenos, serranos, or habaneros to your chicken mix for a nice kick.
Corn or Flour Tortillas for Enchiladas?
Traditionally, enchiladas are made with corn tortillas that are dipped in hot oil before rolling. This makes them extra crispy out of the oven.
However, to save time, I used flour tortillas. Using flour tortillas will change the texture. They will be softer, but flour tortillas are much easier to roll up.
If you don’t have much time, use flour tortillas. If you have time and want the authentic crisp, use corn tortillas.
The trick to making corn tortillas easier to roll, (because they will break if you use them right out of the package) is to heat them up first. Either heat them in oil or zap them in the microwave.
How to soften tortillas for enchiladas
Pro tip. To soften tortillas for this cheesy chicken enchilada recipe, place them on a plate in the microwave. Warm them for 30 seconds covered with a wet paper towel.
Top these cheese and chicken enchiladas with:
- Fresh Salsa
- Easy Guacamole
- Homemade Queso
- Sour Cream
- Taco Sauce
- Salsa Verde
- Green Chiles
- Black Olives
- Green Onions
How to Freeze Chicken Enchiladas
My chicken enchiladas make a fantastic freezer meal. So prepare a double batch and put half of them in the freezer for one of those days when you just don’t have time to cook.
To freeze, you’ll need to prepare them in an aluminum baking pan. Then, cover them with plastic wrap first, then top with aluminum foil. They will stay good in your freezer for up to 3 months.
To bake them, just take off the plastic wrap and cover them back up with foil, then bake for 30 minutes. Uncover; bake for an additional 5-10 minutes, or until completely cooked through.
If you make this recipe, I’d love to know what you think! This is one of the first and easy Mexican food recipes I learned to cook when I got married and is one of my go-to recipes when having people over for dinner. After making this recipe, you’ll never order chicken enchiladas from a restaurant again.
Since I’m a huge fan of cheesy recipes like I am, you’ll want to try this salad to go with lasagna!
How long to cook enchiladas at 350
Cook enchiladas in a 350 degree oven for 20 minutes. Then, remove the foil and bake for an additional 15-20 minutes until the cheese is bubbling and starting to brown.
How to reheat enchiladas?
You can reheat enchiladas in the oven or the microwave. I’m usually impatient, so I prefer the microwave.
How to reheat enchiladas in the microwave is simple. Place an enchilada on a microwave-safe plate, cover, and let cook for 60 second.
When the timer goes off, check them, and continue to microwave in 30 second increments. Avoid overcooking as the tortilla will get hard. You want the enchilada to be hot but the tortilla to still be soft.
How to Make Cheese and Chicken Enchiladas
Place chicken in a large pot with a tablespoon salt and bring to a boil over medium-high heat. I like to add a little canola oil or olive oil (whatever I have on hand) to the chicken while it cooks so that it helps the water from boiling over.
Meanwhile, preheat the oven to 350 degrees and spray a 13-inch baking dish with nonstick spray. You’ll have a hard time getting the enchiladas out of the pan if you don’t spray the pan first.
Continue boiling chicken until it is cooked through and no longer pink. Using a digital thermometer, check that chicken is cooked to at least 160 degrees.
Remove chicken from water and shred in a food processor or you can shred the chicken by hand using a fork. Lightly season chicken to taste with salt and black pepper.
You could also use taco seasoning, chipotle powder, or poblano pepper for a bit more kick. Adding a little lime juice to the shredded chicken filling is also a family favorite.
Open all cans of enchilada sauce. Set two cans to the side and pour one can into the bottom of the prepared baking dish.
To begin assembling enchiladas, take one flour tortilla and coat both sides with enchilada sauce from the bottom of the baking dish. Next, add a heaping spoonful of refried beans, some of the chicken mixture, and onions.
We like a lot of onions so I usually just grab some and throw them on but you could use less and still get great results. Then, lightly drizzle contents with enchilada sauce from the can before rolling up seam side down.
Repeat the directions above until all enchiladas are filled with bean/chicken/onion/sauce mixture. Pour the remaining can of enchilada sauce over all enchiladas and then top with your favorite shredded cheese. I use Colby Jack, Mexican, or a cheddar cheese blend.
Cover with foil. Bake in preheated oven for 20 minutes, then remove foil and continue to cook until cheese is melted and starting to brown (about 15-20 additional minutes). Serve alone or with optional toppings above for even more flavor!
What is the best wine with enchiladas?
The best wine to serve with enchiladas depends on you. Are you feeling red wine or white wine?
For red wine, a syrah, Malbec, or merlot would be best with enchiladas. If you’re looking for a white wine to go with enchiladas, a pinot grigio or Chenin blanc would be your best bet.
What to serve with enchiladas
These chicken and cheese enchiladas are a hearty meal, but if you’re looking for a side these are some of our family’s favorites.
- Chips and Salsa Recipe with Fresh Tomatoes
- Elote (Mexican Street Corn)
- Red Cabbage Slaw
- Spanish Rice
- The Best Homemade Guacamole
More Easy Family Meals
Need more easy recipes that will feed your family without taking too long to make? Here are some of my favorite easy family meals for next time.
- Easy Chicken Parmesan Sandwich Recipe
- 20 Healthy & Delicious Slow Cooker Soup Recipes
- Pork Green Chili
- Lemon Caper Chicken
Do you want to see my Amazon must haves that you might want to add to your shopping list?! Give me your thoughts on any categories you’d like to see me add.
Are you looking for more easy family recipes and travel tips? Like and follow Live Love Texas on Facebook.
Don’t miss a single post or giveaway announcement. Sign up for my free newsletter by clicking the Subscribe button on the menu bar.
Do you love getting inspired with new ideas? Follow me on Pinterest!
Did you make this recipe? Take a photo and tag me on Instagram @liveluvtx!
⭐️ ⭐️ ⭐️ ⭐️ ⭐️ Make this recipe and love it? Make sure to give it 5 stars below! ⭐️ ⭐️ ⭐️ ⭐️ ⭐️
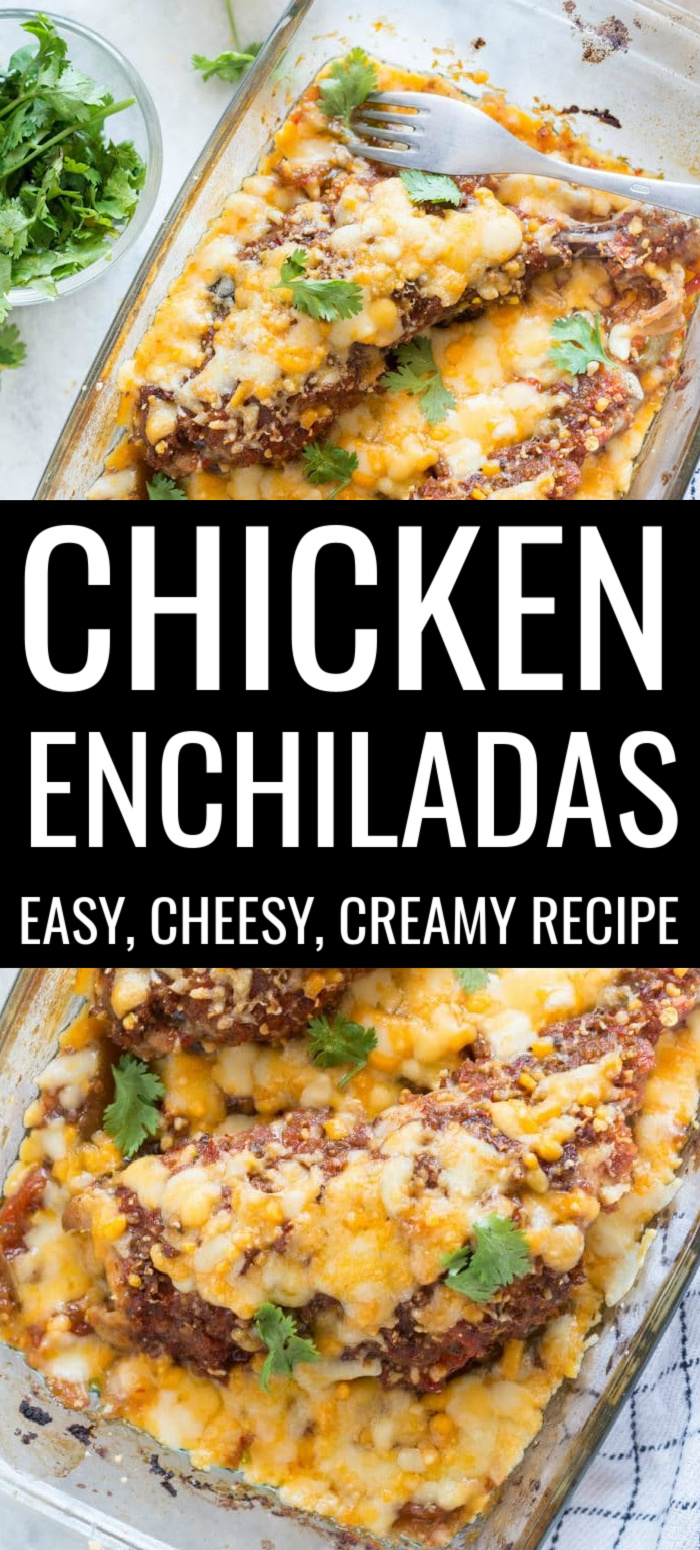
Easy Cheesy Chicken Enchiladas Recipe
Ready for a super quick dinner recipe your family will love? Jazz up your taco Tuesday with my chicken enchilada recipe!

Easy Cheesy Chicken Enchiladas
This easy cheesy chicken enchiladas recipe is one of the best chicken recipes and perfect for everything from weeknight dinners to entertaining.
Ingredients
- 1 lb. boneless skinless chicken breasts
- 2 cans red enchilada sauce 15 oz.
- 1 yellow onion diced
- 1 can refried beans 15 oz.
- 1 lb. Mexican cheese blend shredded
- 8 flour tortillas burrito sized
- salt and pepper to taste
- Optional Toppings: sour cream or crema guacamole, salsa, olives, jalapenos, cilantro, crumbled queso fresco
Instructions
-
Place chicken in large pot of salted water and bring to a boil.
-
Meanwhile, preheat oven to 350 degrees and spray a 9×13 baking dish with nonstick spray.
-
Continue boiling chicken until it is cooked through and no longer pink.
-
Remove chicken from water and shred in food processor or you can shred the chicken by hand using a fork. Lightly season chicken to taste with salt and pepper.
-
Open all cans of enchilada. Set two cans to the side and pour one can in bottom of prepared baking dish.
-
To begin assembling enchiladas, take one flour tortilla and coat both sides with enchilada sauce from bottom of baking dish. Next, add a heaping spoonful of refried beans, 1/8 of total chicken prepared, and 2T diced onions.
We like a lot of onions so I usually just grab some and throw them on but you could use less and still get great results. Then, lightly drizzle contents with enchilada sauce from can (1/8 of can) before rolling up seam side down.
-
Repeat step 6 until all enchiladas are filled with bean/chicken/onion/sauce mixture.
-
Pour remaining can of enchilada sauce over all enchiladas and then top with cheese.
-
Cover with foil. Bake in preheated oven for 20 minutes, then remove foil and continue to cook until cheese is melted and starting to brown (about 15-20 additional minutes).
-
Serve alone or with optional toppings above for even more flavor!
pilllow
Wednesday 1st of May 2024
Wow wonderful blog layout How long have you been blogging for you make blogging look easy The overall look of your site is great as well as the content
binance Registrera dig
Saturday 27th of April 2024
I don't think the title of your article matches the content lol. Just kidding, mainly because I had some doubts after reading the article.
soapgate
Tuesday 23rd of April 2024
Every time I read one of your posts, I come away with something new and interesting to think about. Thanks for consistently putting out such great content!
Erick Huff
Saturday 20th of April 2024
Thank you for the auspicious writeup. It in fact was a amusement account it. Look advanced to more added agreeable from you! By the way, how could we communicate?
Kora A. G. Bentley
Saturday 13th of April 2024
This blog post is worth the read - trust us!